
Online Jewelry Classes vs. In-Person Learning: My $500 Reality Check
A ceramic piggy bank sits on a wooden table, symbolizing saving money versus investing in personal growth and learning. In person jewelry making classes are a better value
Well, I am shook.
I’ve been chewing on this for a while, because truly—there’s nothing wrong with online jewelry making classes if that’s how you learn best. They’re flexible, you can rewatch them, and you never have to leave your couch.
But here’s the rub: one internet-famous instructor claimed online classes are much more affordable than in-person learning. And as the self-proclaimed Scrappy Smith, I had to test that theory. Spoiler: it cost me nearly $500 to find out the truth.
Here’s what happened.
I signed up for a jewelry education subscription because I like to see what’s out there: teaching depth, tool recommendations, overall value. My brilliant plan? Burn through all the content in one month for just $40. Affordable! Strategic! Yay me!
But reality is a bear.
Ten months later, I’d barely scratched the surface. That “$40 bargain” had ballooned to $400. At the one-year mark, I hit an all-time (shameful) personal record: almost $500 spent—and very few videos watched. That’s when I downloaded the notes, canceled the subscription, and had a real talk with myself.
Now, here’s the contrast:
In an in-person jewelry class, students walk out with actual skills—and usually a finished piece—in just a few hours. They get real-time feedback, learn how to troubleshoot, and don’t waste money on tools that aren’t needed. The investment is upfront, but the return is immediate and lasting.
So before you sign up for an endless subscription, ask yourself: do you want to “collect” classes with the best of intentions, or do you want to actually make jewelry?
Your wallet—and your workbench—will thank me.
Thanks for reading,
Christy Sears, August Axel Jewelry Studio
AKA The Scrappy Smith
Bezel Pusher vs. Bezel Rocker: Which Tool Should You Use for Bezel Setting?
Confused about bezel pushers and rockers? Learn how to use each tool, plus pro tips and alternatives from our hands-on bezel setting classes.
When it comes to setting a stone securely inside a bezel, two tools often enter the conversation: the bezel pusher and the bezel rocker (also called a bezel roller). But which is which—and how do you use them effectively?
If you're feeling confused, you're not alone! There's a lot of conflicting information online, and let’s be honest—some of those viral jewelry-making videos? The tools are being held all wrong. Bad habits happen to all of us at the bench.
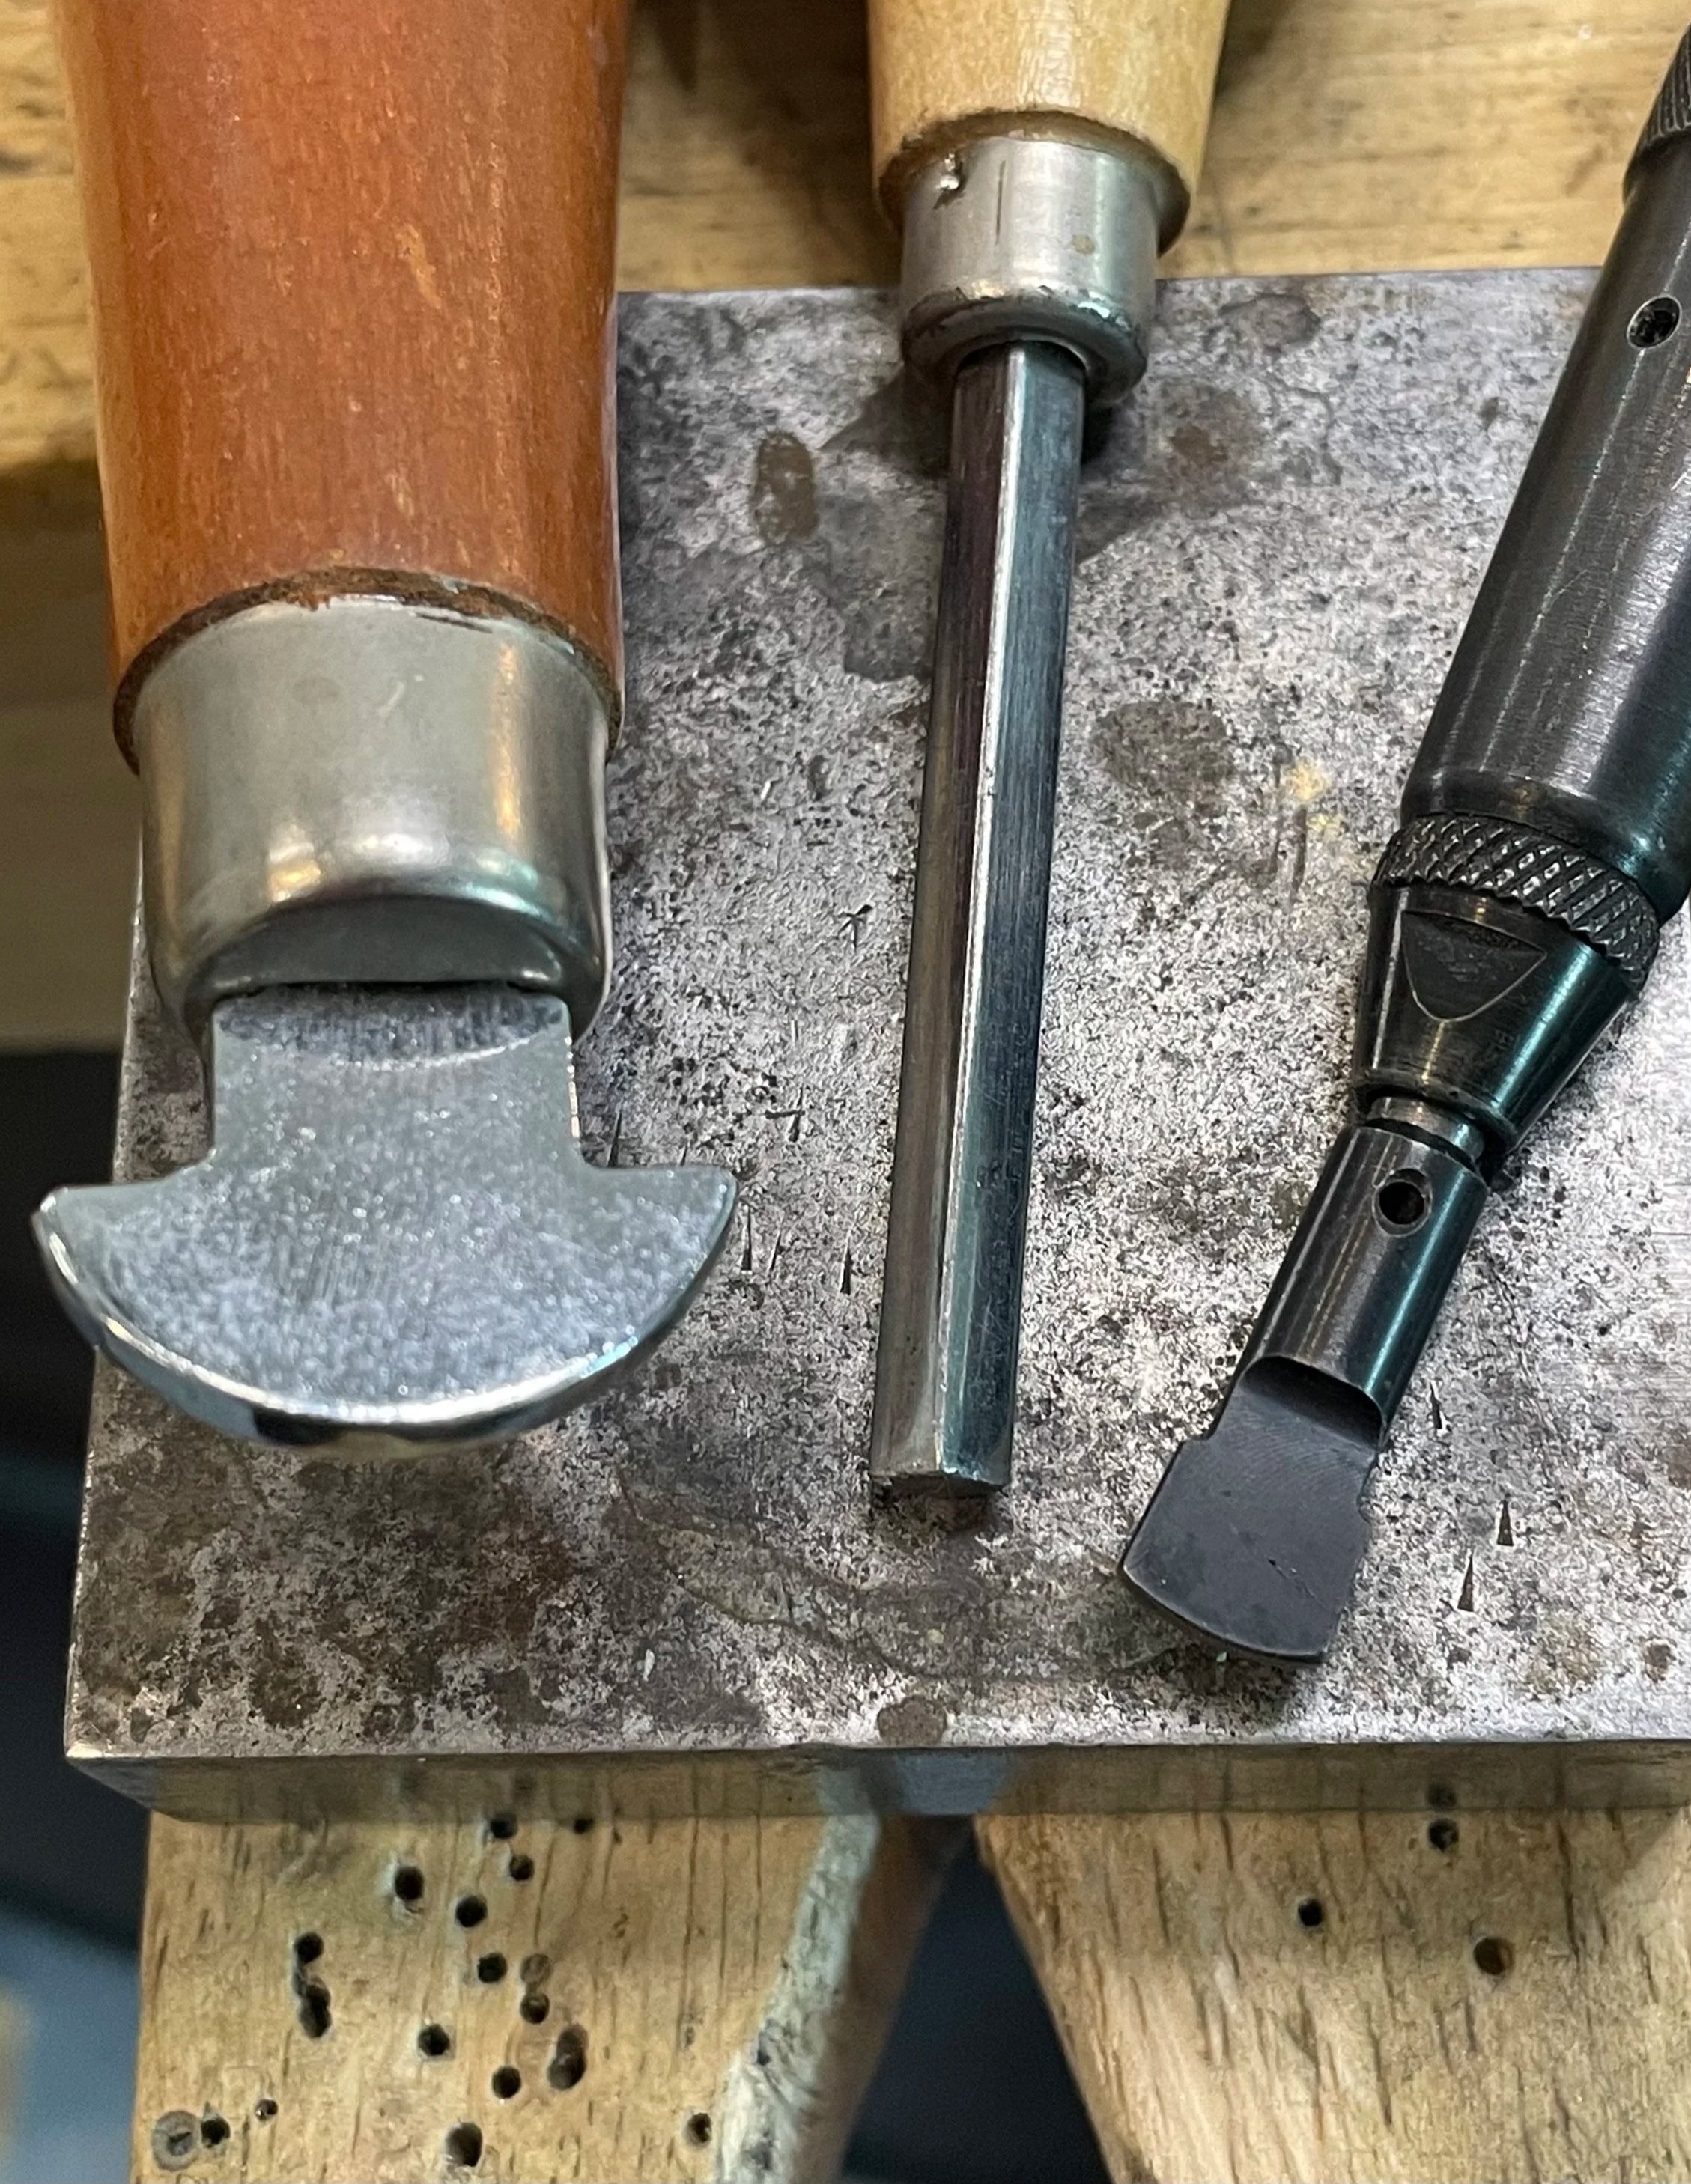
Bezel Pusher: More Control, Less Fuss
Personally, I reach for a bezel pusher when setting a stone. Why? It gives me more control. I place the flat end of the tool at the base of the bezel wire and rock it upward toward the top edge. This "rock and push" motion helps seat the bezel snugly over the stone.
Here’s a little trick: I hold my thumbnail over the stone for added protection. It helps avoid accidental slips that could scratch the surface—especially with softer stones like turquoise.
Confession: Sometimes I’m too lazy to walk across the studio to grab my pusher, so I’ll use the rounded end of my wooden-handled soldering pick instead. Call it cheating—but it works beautifully on fine silver bezel wire, and it doesn’t leave tool marks!
Bezel Rocker: Smooth Pressure, But Slippery Hands?
The bezel rocker, or roller, works differently. It’s used at the top edge of the bezel and rocked back and forth with steady pressure to push the metal over the stone. Many jewelers prefer it for larger cabochons or when aiming to leave fewer marks.
But me? I find it slippery and awkward to hold. If the tool doesn't feel secure in my hand, it throws off my whole rhythm. Confidence at the bench matters—and tools should feel like extensions of your hand.
My Favorite Tool? A Hammer Handpiece!
Here’s the real secret: I ditched both traditional tools once I started using a hammer handpiece with a bezel-setting tip. It’s fast, powerful, and satisfying to use. Does it leave tool marks? Every single time. But a pumice wheel on your flex shaft will clean those right up—and it's even safe to use on delicate stones like turquoise.
The Takeaway: Try Them All
There’s no one-size-fits-all answer. Each bezel-setting tool has its strengths and quirks. The best way to find your favorite? Try them all out in person with a knowledgeable instructor by your side.
We offer all of these tools—and the hands-on guidance to go with them—in our Bezel Setting Techniques class. Whether you’re brand new to jewelry making or brushing up on technique, you’ll leave with the confidence to bezel like a pro.
Silver or “Silver”? An Adventure in Amazon Shopping for Jewelry Supplies
Don’t waste money on bad metals! August Axel, AKA The Scrappy Smith, shares trusted suppliers and Amazon-safe jewelry tools for new bench jewelers.
I hear these kinds of comments all the time from students:
“My solder won’t flow.”
“This metal doesn’t behave like the kind we used in class.”
“This silver melted on me!”
So I ask the obvious question:
“Where did you buy it?”
Amazon.
Bless their hearts. (That’s a Southern saying that sounds sweet but isn’t always.)
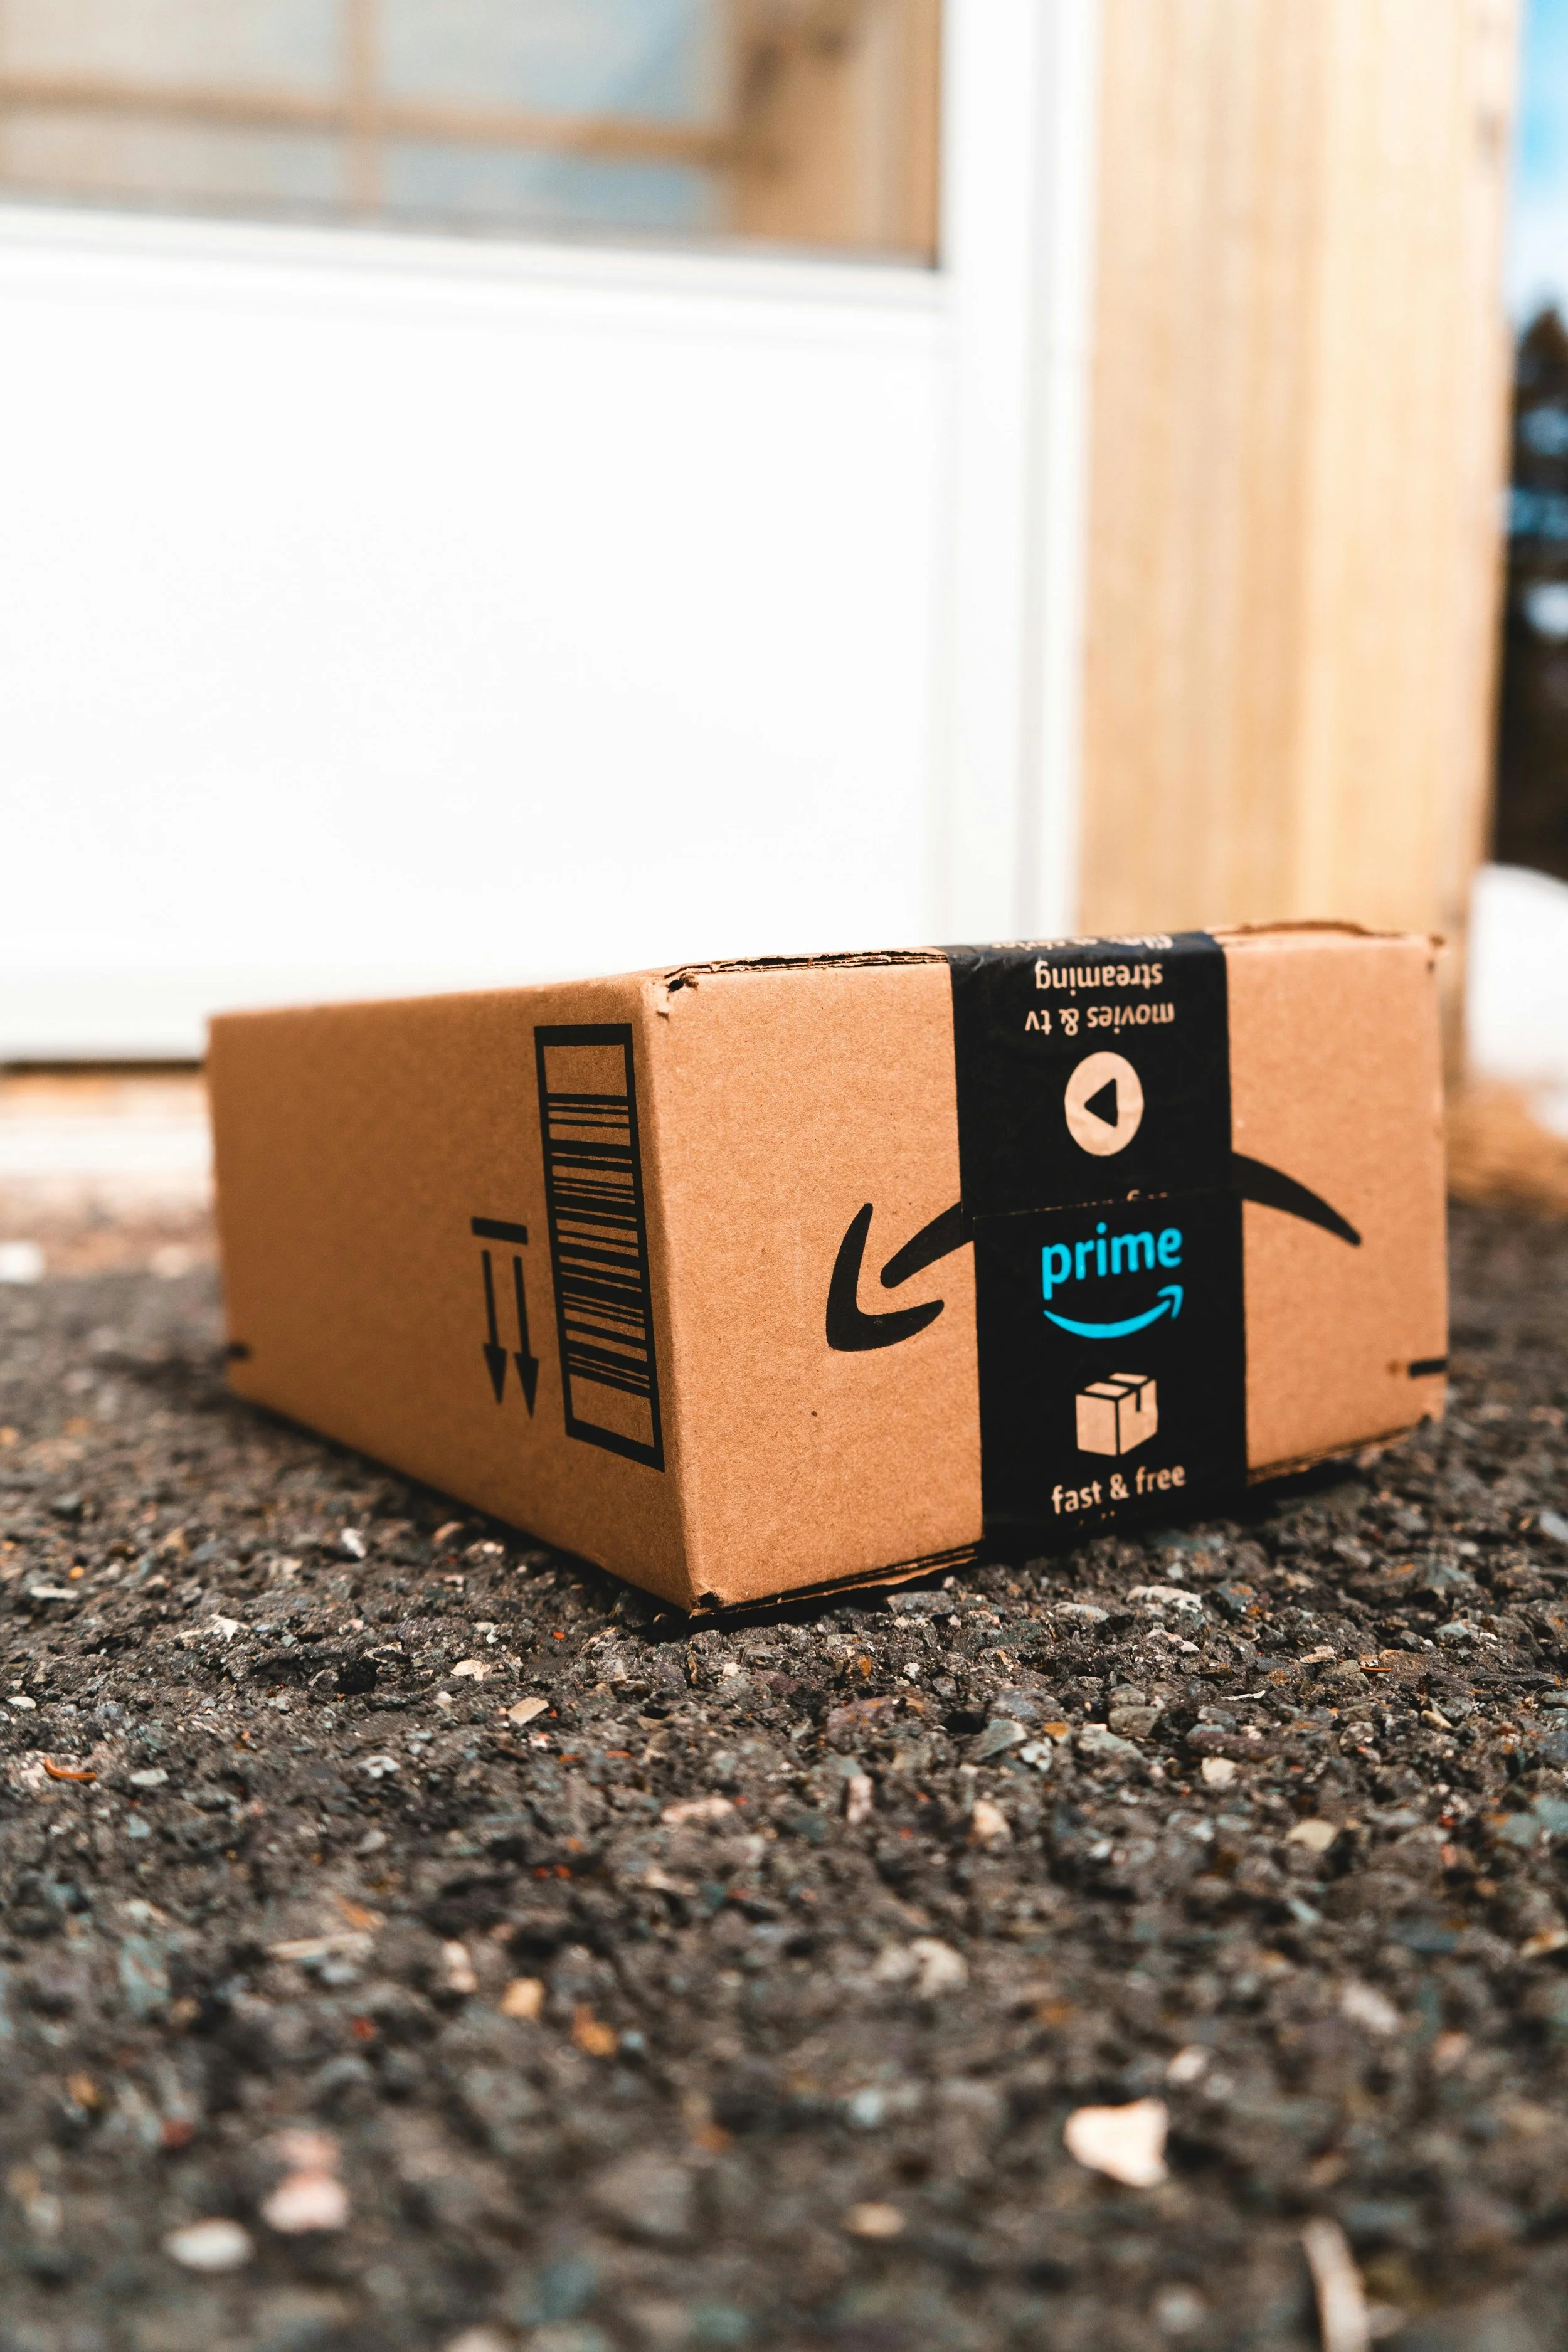
Here’s the thing: we’ve been loyal Prime shoppers for years, and I love the convenience of ordering random things from the kitchen table before I’ve even brushed my teeth.
But precious metals and solder?
Never on my Amazon list.
There are just too many sketchy listings. Product titles can look legit, but often the phrase “100% real silver” just means 100% of the plating is silver. Or worse, it’s “silver-tone” or a total mystery metal.
Bottom line: If it seems too good to be true, it is.
The Scrappy Smith’s Best, Best, BEST Advice:
Buy your metal and solder from a trusted source—a real-deal jewelry supply company that exists to support our industry.
I’m not fancy—I’m frugal and practical. I teach new smiths how to save money without wasting it first. I’ve already made the mistakes so you don’t have to.
Here are the suppliers I trust with my bench and my wallet:
They sell real metals with real specs—and they stand behind what they ship.
But Amazon’s Not All Bad...
There are things we happily buy from Amazon to outfit our jewelry benches. Think tools, shop supplies, and studio basics—not precious metals.
Here are a few of my favorite Amazon buys:
Butane torch in purple or red.
Canisters of 11x refined butane
Titanium soldering pick with a wood handle
Ring gauge set for measuring ring sizes
Have fun out there—and shop smart.
If you’re ever unsure, just ask me.
I’m August Axel, AKA The Scrappy Smith—real-life advice, minus the fluff.

Free Jewelry Tutorials Online: Helpful or Headache?
Free Jewelry Tutorials Online: Helpful or Headache? Read our latest blog to learn what’s best for your learning style.

June 17, 2025
Do you love free online jewelry tutorials — or do they make you crazy?
If you're like many of the metalsmithing students who walk through the doors of our studio, you've probably dipped your toe into the sea of YouTube or TikTok tutorials. And you've probably also felt confused, frustrated, or even misled. You're not alone.
From what I’ve seen, many of these videos are designed to look helpful, while really just offering enough surface-level info to convince viewers that the creator is an expert. (Spoiler alert: anyone with a smartphone can make a video!)
These short tutorials rarely leave room for deeper explanation. And that can be dangerous.
For example, when I was first learning to make hollow forms, I watched a free video that walked viewers right up to the moment where things could go very wrong—and then it ended. No mention of air release. No safety warning. Just, “Bye, good luck!”
Excuse me?! Hollow forms must have a way for expanding air to escape — or you risk creating a vacuum that can cause components to explode. Luckily, I had done enough additional research to catch that. But what about a beginner?
That’s the problem. New metalsmiths don’t have the benefit of 20+ years of experience. So what’s a hands-on learner to do?
Here’s what I recommend:
1. Watch multiple videos on the same topic.
Pay attention to the techniques that show up over and over again — and take note of where they diverge. Those differences are your signal to do deeper research.
2. Trust your gut.
If something seems too good to be true (or just doesn’t sit right), don’t push through. Close the tab and find another source.
3. Follow trusted creators.
One of my favorites is Melissa Muir (aka @MetalsmithMelissa). Her content is beginner-friendly, her testing is grounded in science, and she’s a genuinely kind human being to boot.
4. Get in the studio.
If you're a tactile, hands-on learner, nothing beats taking an in-person class. Look for a studio environment that supports creative thinkers — where instructors welcome questions and no one is shamed for working at their own pace. If you ever hear “you’re falling behind” in a creative class, run. They're working for you, not the other way around.
Bottom Line?
Free tutorials can be a great jumping-off point — but they’re no substitute for thoughtful instruction, a safe learning environment, and the chance to actually try it with your own two hands. At our studio, we build in room for questions, experiments, and the kind of deeper understanding that helps you grow, not just copy.
Want help navigating your next metalsmithing move? Come see us in the studio. We've got tools, real-life tips & tricks, and a never-ending sense of humor. Bring your curiosity — we'll take care of the rest.
Have an amazing day,
Christy Sears, August Axel Jewelry Studio
AKA, The Scrappy Smith